ArtsAutosBooksBusinessEducationEntertainmentFamilyFashionFoodGamesGenderHealthHolidaysHomeHubPagesPersonal FinancePetsPoliticsReligionSportsTechnologyTravel

Making a Simple Green LED Fishing Light - Part 2 PVC Body

Updated on May 8, 2014

Let's Build the PVC Body!

Here is Part 2 of a four part series of articles that describe how to make a simple Green LED Fishing Light powered by a 9V battery.

  • Part 1 provides details for making the LED Circuit;
  • Part 2 details the construction of the PVC body;
  • Part 3 will cover assembly of the LED Circuit and the PVC body to make the light;
  • And then, Part 4 will provide for testing the light and it's use in the field.

Good Luck and Good Fishing!

Note: The video in the sidebar is the second version of the light; it uses one 9 volt battery and less powerful but also less expensive LED diodes.
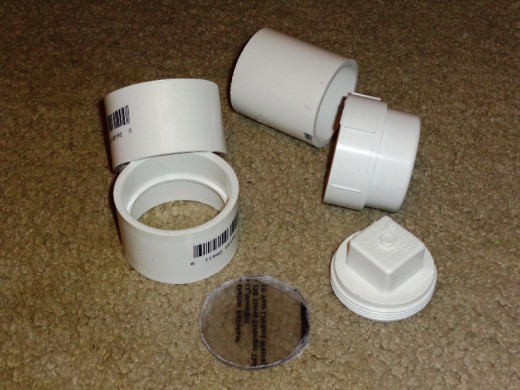
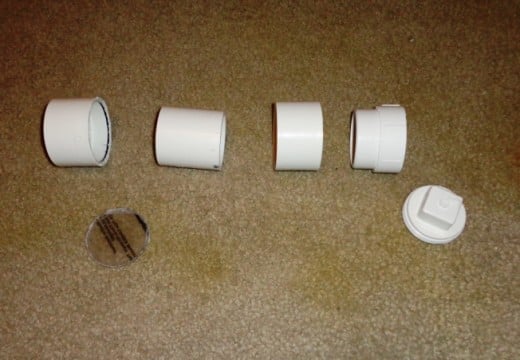
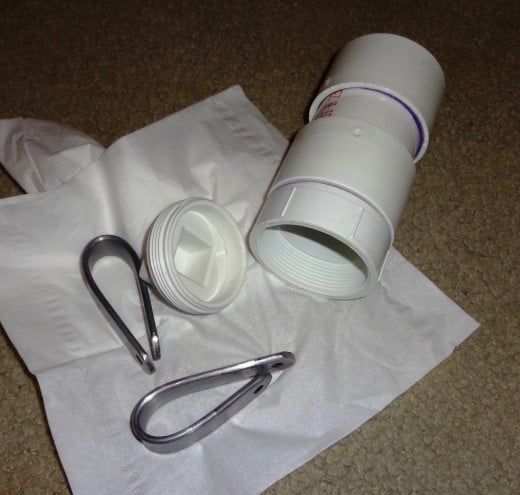
Clockwise... 2 Connectors, 3" PVC Section. Threaded Cap. Plug, 2" diamater Lexan Polycarobonate
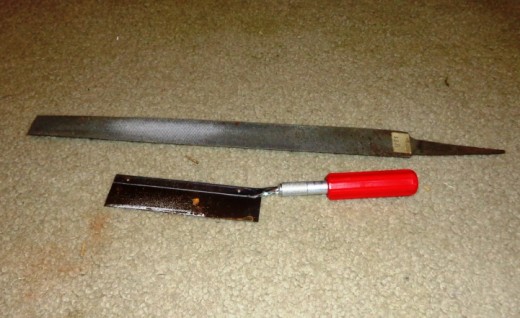
File, Xacto Saw
File, Xacto Saw
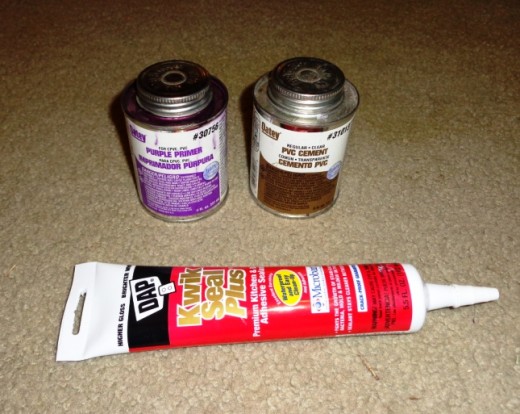
PVC Primer and Cement, Silicone Caulk

Materials and Tools for the PVC Body

To make the PVC Body, obtain the material and tools listed in the section below.

Materials:

  • Two 2" Inside Diameter (ID) PVC Connectors
  • One 2" ID Threaded Female PVC Cap
  • One 2" PVC Plug
  • One 2" ID PVC Section cut to 3" in length
  • One 2" Diameter Lexan Polycarbonate Plexiglas (.093" Thick)
  • PVC Primer and Cement
  • Silicone Caulk


Tools

  • Hacksaw (or power tool to cut PVC)
  • Xacto Saw (or Hacksaw)
  • File


Testing Material:

  • Decoy Weights (or similar weight)
  • Tissue Paper
  • Bucket of Water
  • Plumber's Tape

Click thumbnail to view full-size
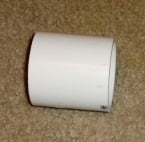
2" Diameter Lexan Plexiglas2.5" PVC Section
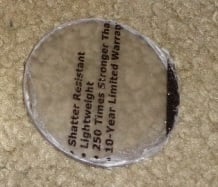
2" Diameter Lexan Plexiglas
2.5" PVC Section
2.5" PVC Section

Step 1 - Plexiglas and PVC Preparations

In Step 1, the Lexan Plexiglas is cut square, trimmed and filed to a 2" diameter circle, and then the PVC Section is cut to a 3" length. To begin this step:

  • Cut the Plexiglas in a 2.5" x 2.5" square.
  • Center the PVC Section on to the square
  • Trace the inside diameter of the PVC section on to the square
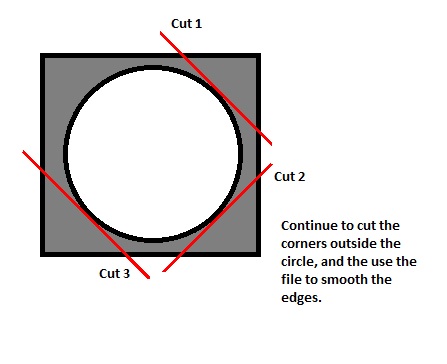
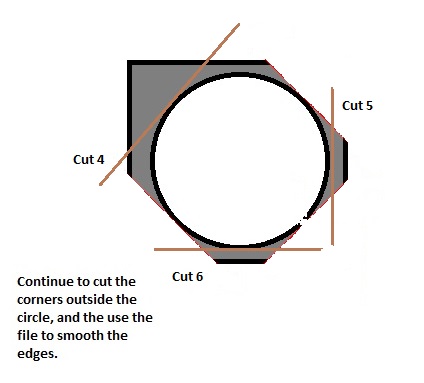
  • Cut and file the square piece of Plexiglas to create a 2" diameter lens (see sidebar for cutting details)
  • Finally, cut the PVC to a 3" length and then de-burr the rough edges.

Note: Lexan Plexiglas comes in 8"x10", 12"x12", and larger sheets. PVC comes in 2', 4', and 8' sections. If able, scrounge around for scrap pieces of material or purchase second hand. Else, if making only one light, go with the 8"x10" Lexan Plexiglas and the 2' section of PVC.

Click thumbnail to view full-size
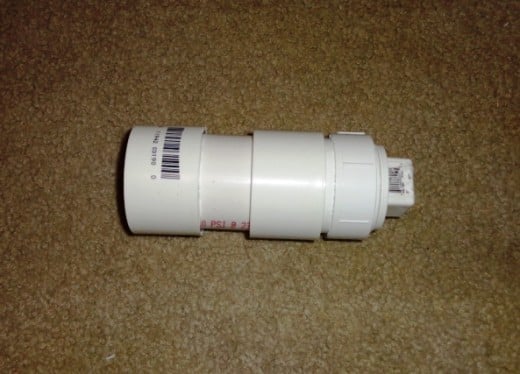
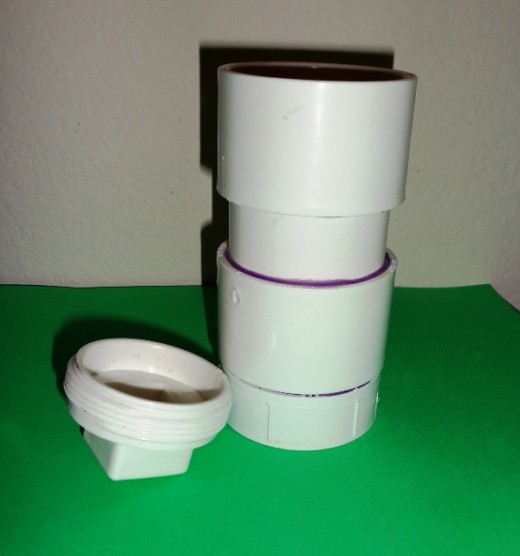
Dry Fit parts using sequence in the picture: Connector, Lexan Plexiglass, 3" PVC Section, Connector, Threaded Cap, Threaded PlugParts are dry fitted; all looks well!
Dry Fit parts using sequence in the picture: Connector, Lexan Plexiglass, 3" PVC Section, Connector, Threaded Cap, Threaded Plug
Parts are dry fitted; all looks well!

Step 2 - Dry Fit the Parts

In Step 2, the parts are dry fitted together to ensure part fit correctly. To begin,

  • Dry fit the parts as described in the picture in the sidebar - specifically, PVC Connector, Lexan Plexiglas, 3" PVC Section, PVC Connector, Threaded Cap, Threaded Plug.
  • If all parts fit tightly, proceed to Step 3. If they do not, use the file on the appropriate part to carefully remove material.
  • In most cases, the PVC parts will fit snugly but the 3" PVC Section may require filing to remove burrs when it was cut to length.
  • For the 2" Diameter circular piece of Lexan Plexiglas, it may also require filing in order to dry fit it to the PVC Connector.
  • Once all parts have been dry fitted successfully, proceed to Step 3.

Click thumbnail to view full-size
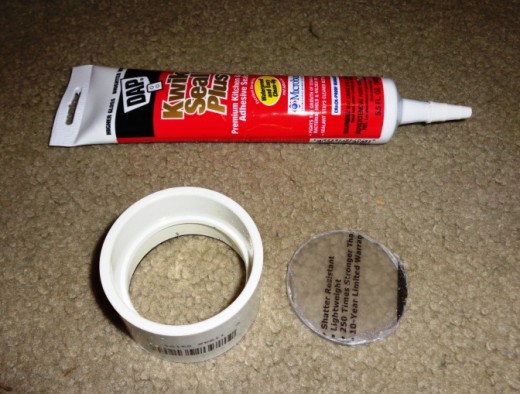
Silicone Sealant, PVC Connector, and 2" Diameter circular piece of Lexan PlexiglassLens installed in the PVC Connector and Silicone Sealant applied.
Silicone Sealant, PVC Connector, and 2" Diameter circular piece of Lexan Plexiglass
Lens installed in the PVC Connector and Silicone Sealant applied.

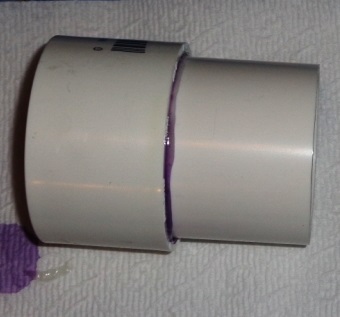
Step 3 - Assemble the Lens Cover

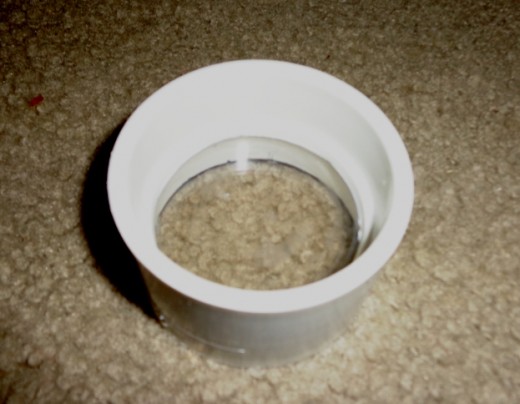
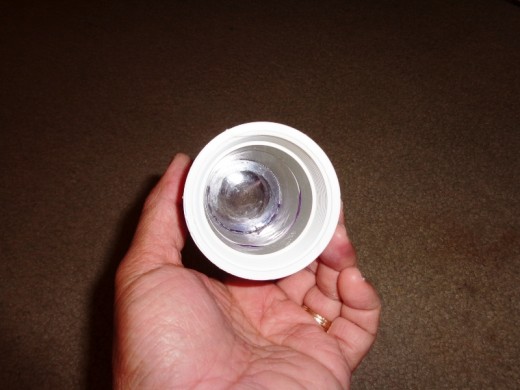
In Step 3, the Lens (2" diameter Lexan Plexiglas) is sealed inside the PVC Connector to make the Lens Cover.

  • Do a final dry fit of the Lexan Plexiglas and the PVC Connector. It should fit tightly with no gaps showing between the Lexan Plexiglas and the inside lip of the PVC Connector. If there is a gap, you will need to cut and file another Lens. Else, proceed to the next bullet item.
  • Apply Silicone Sealant to the inside lip of the PVC Connector, and then install the Lens. Push firmly to ensure no bubbles have formed and a good seal has formed between the Lens and the inside lip of the PVC Connector.
  • Next, apply Silicone Sealant to the other side of the Lens (outside part that will be exposed to water).
  • While the sealant is still wet, use a wet cloth wipe any residue that may have gotten on the Lens.
  • Finally, let the sealant dry per the instructions on the container, and then proceed to Step 4 (in our case, we waited overnight for the sealant to cure).

Click thumbnail to view full-size
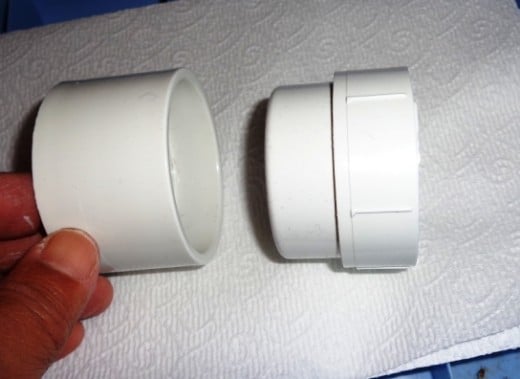
PVC Connector and Threaded CapParts fitted and cement applied.
PVC Connector and Threaded Cap
Parts fitted and cement applied.

Step 4 - Assemble the Lower Body

In Step 4, the Lower Body is assembled using the other PVC Connector and the PVC Threaded Cap.

  • Follow the directions on the PVC Cement container to prepare and cement the PVC Connector to the PVC Threaded Cap.
  • The PVC Cement used in this article called for applying primer to the inside of the PVC Connector and to the outside of the PVC Threaded Cap (non-threaded end).
  • Then, almost immediately, this was followed up with applying the cement to the primed areas.
  • This was followed quickly with a firm push to both pieces to seat the parts in place, and then a 1/4 turn to seal them.
  • Once the parts are in place, proceed to Step 5.

Click thumbnail to view full-size
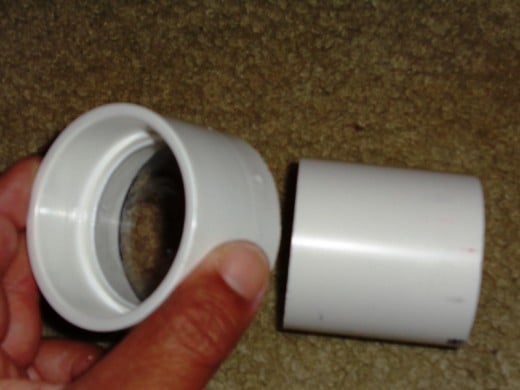
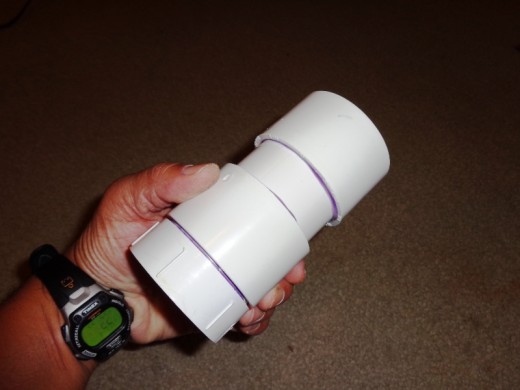
Lens Cap, 3" PVC SectionCompleted Upper Body
Lens Cap, 3" PVC Section
Completed Upper Body

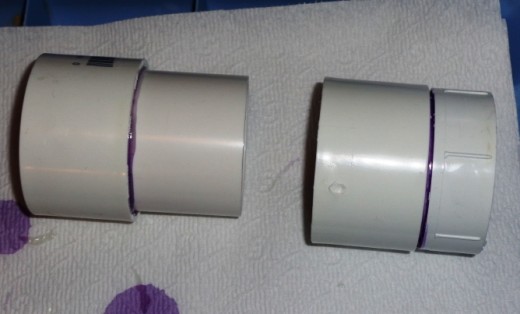
Step 5 - Assemble the Upper Body

In Step 5, the Upper Body is assembled using the other Lens Cap and the 3" PVC Section.

  • Same as Step 4 with respect to cementing, just different parts to cement.
  • Once parts are in place, proceed to Step 6.

Click thumbnail to view full-size

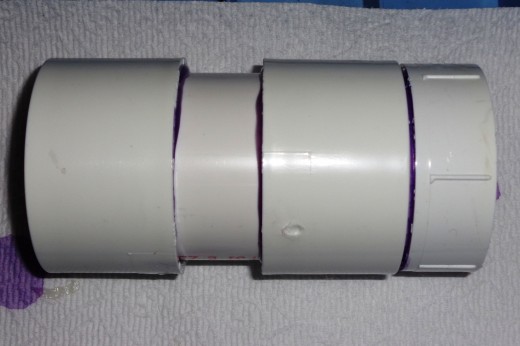
Step 6 - Final Assembly

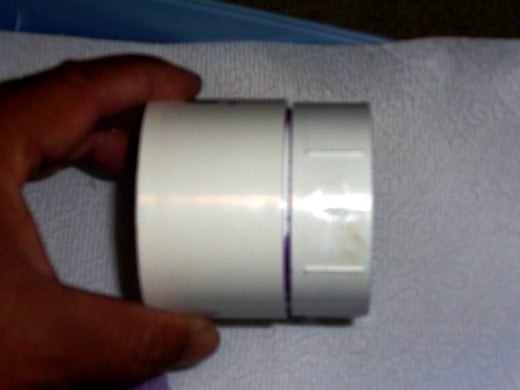
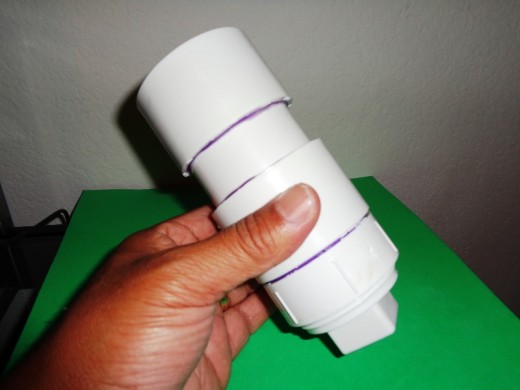
In Step 6, the Upper Body and Lower Body are assembled to make the PVC Body

  • Same as Steps 4 and 5 with respect to cementing, just different parts to cement again.
  • Once parts are in place, let the PVC Cement dry per the directions on the container before proceeding to Step 7 (in our case, we waited 24 hours for the cement to dry before proceeding).

Click thumbnail to view full-size
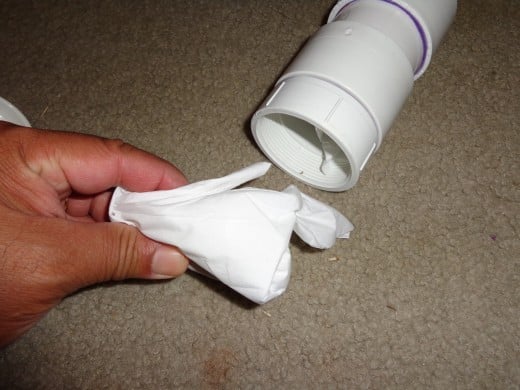
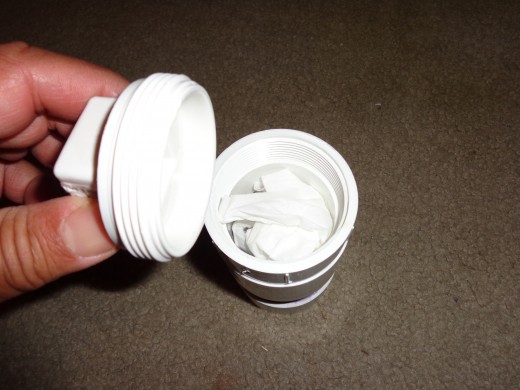
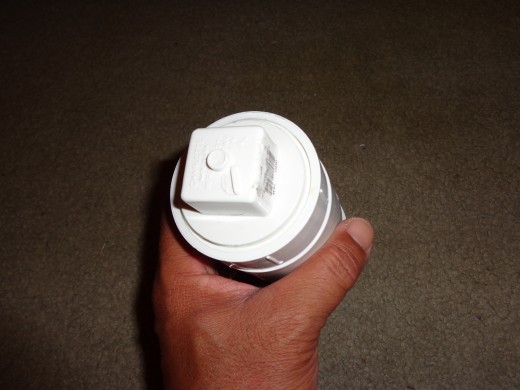
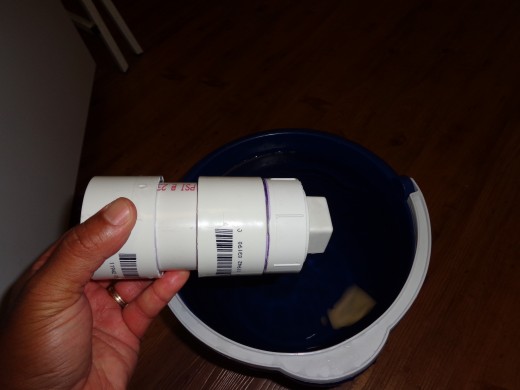
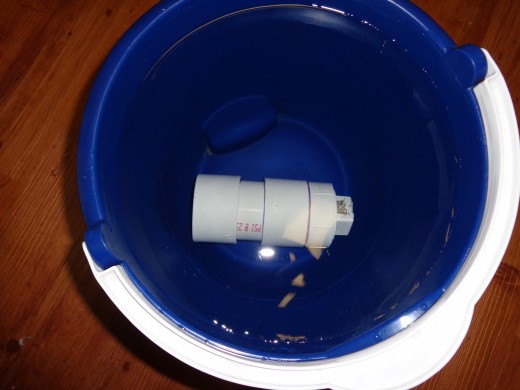
Decoy Weight, Tissue Paper, Assembled PVC BodyCover decoys weights in tissue paper and place in to PVC BodyInstall the Threaded PlugInstalled plug is secure, ready to testPlace weighted PVC Body into a bucket of waterPVC Body is completely submerged; water test begins
Decoy Weight, Tissue Paper, Assembled PVC Body
Cover decoys weights in tissue paper and place in to PVC Body
Install the Threaded Plug
Installed plug is secure, ready to test
Place weighted PVC Body into a bucket of water
PVC Body is completely submerged; water test begins

Step 7 - Test It

As a precaution against damaging the LED Circuit, Step 7 is a water test to ensure the PVC Body is waterproof.

  • Take two decoy weights or other weighted object that will fit inside the PVC Body and wrap them with tissue paper, and then place them into the PVC Body.
  • Next, apply Plumber's Tape to the PVC Threaded Plug's threads, then screw the plug securely in place.
  • Then, fill the bucket with water and sink the PVC Body into the water. Be sure the PVC Body is fully submerged and remains underwater for at least an hour.
  • Then, take out the PVC Body and check for water.
  • If the tissue paper is wet, then fill the PVC Body with water, screw the Threaded Plug in place, and search for the leak. Once found, use Silicone Sealant to plug the leak, and then re-test.
  • If the tissue paper is dry, then the PVC Body is waterproof. You are done.... standby for the next article!

Finished PVC Body

Click thumbnail to view full-size

Part 3 is Posted!

Part 3 of the four part series of articles that describe how to make a simple Green LED Fishing Light powered by a 9V battery is posted!

Part 3 covers the assembly of the LED Circuit and the PVC body to make the light! Check it out at "Making a Simple Green LED Fishing Light - Part 3 Final Assembly".

Till then,

Good Luck and Good Fishing!

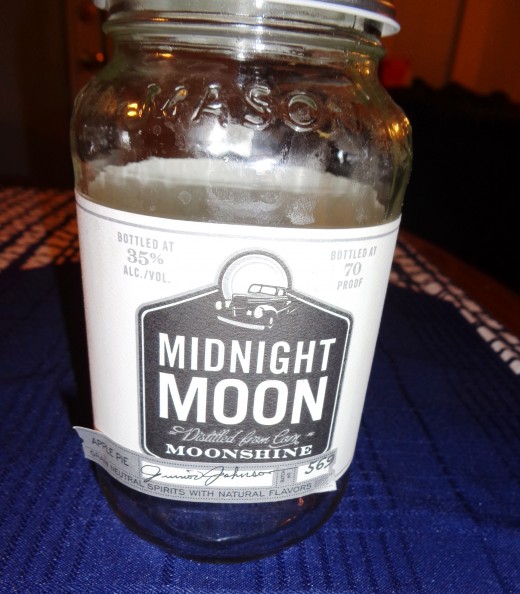
PS: If you are in a hurry, do check out the workarounds below that use a Mason Jar in the first example and a sealed glass container in the second example. They both work!

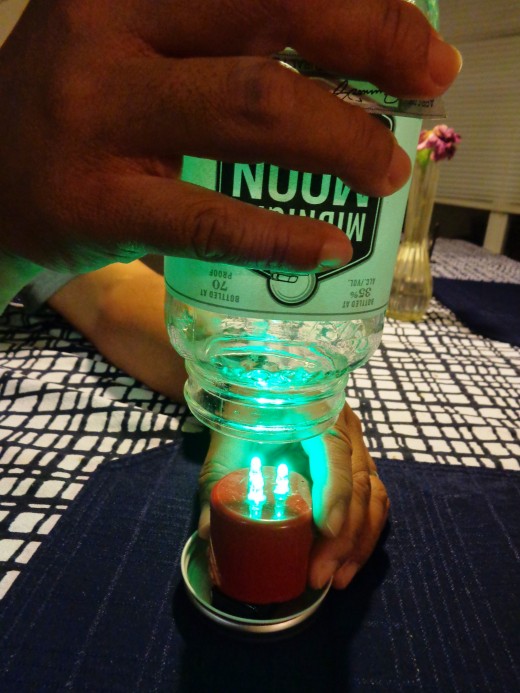
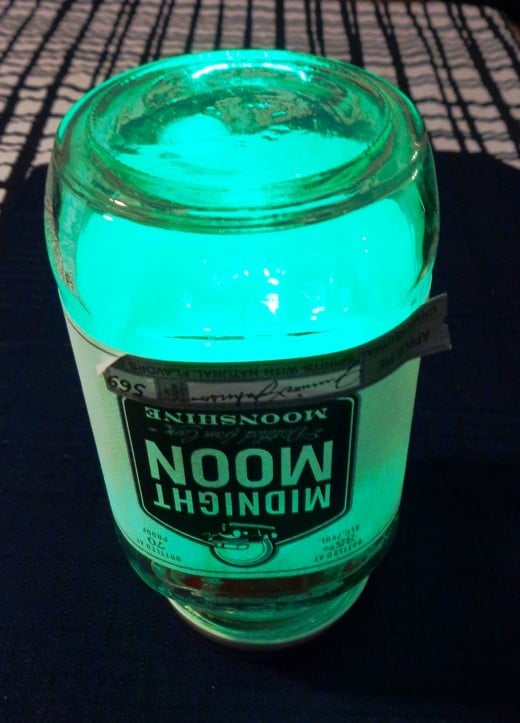
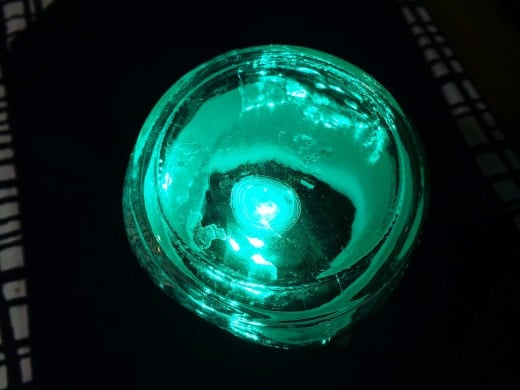
Easy Workaround with a Mason Jar

Click thumbnail to view full-size
Use a Mason JarSecure the LED Circuit and Battery to the Cap.Works like a Charm!Top View
Use a Mason Jar
Use a Mason Jar
Secure the LED Circuit and Battery to the Cap.
Works like a Charm!
Works like a Charm!
Top View
Top View

Easy Workaround with a Sealed Glass Container

Click thumbnail to view full-size
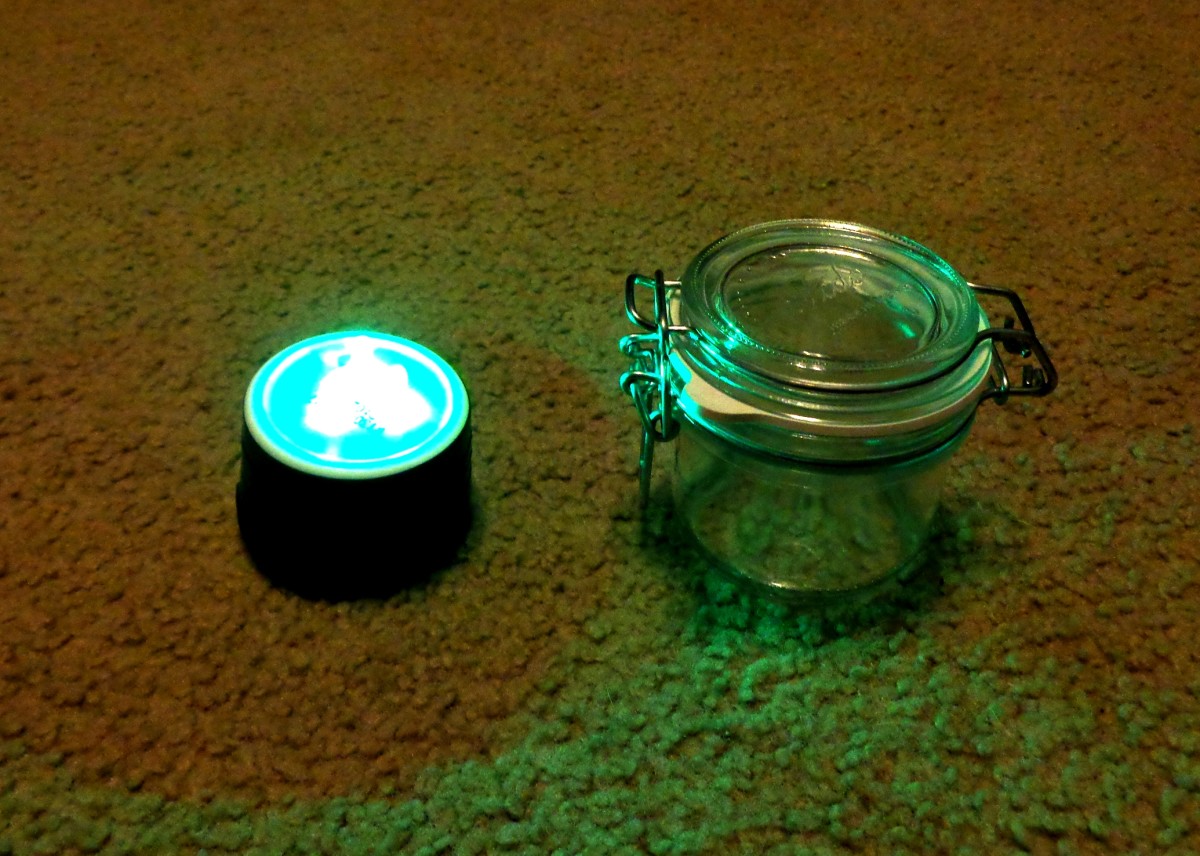
LED Circuit Assembly and Sealed Glass Container Sealed Glass Container... $1.99 at the Container Store LED Circuit Assembly (wrapped with black electrical tape) LED Circuit Assembly installed upside down and battery connected Water testing with the light on!  No need to add weight, sinks with battery and LED Circuit Assembly installed. Sealed Glass Container workaround works!
LED Circuit Assembly and Sealed Glass Container
Sealed Glass Container... $1.99 at the Container Store
LED Circuit Assembly (wrapped with black electrical tape)
LED Circuit Assembly installed upside down and battery connected
Water testing with the light on!  No need to add weight, sinks with battery and LED Circuit Assembly installed.
Water testing with the light on! No need to add weight, sinks with battery and LED Circuit Assembly installed.
Sealed Glass Container workaround works!
working

This website uses cookies

As a user in the EEA, your approval is needed on a few things. To provide a better website experience, hubpages.com uses cookies (and other similar technologies) and may collect, process, and share personal data. Please choose which areas of our service you consent to our doing so.

For more information on managing or withdrawing consents and how we handle data, visit our Privacy Policy at: https://corp.maven.io/privacy-policy

Show Details
Necessary
HubPages Device IDThis is used to identify particular browsers or devices when the access the service, and is used for security reasons.
LoginThis is necessary to sign in to the HubPages Service.
Google RecaptchaThis is used to prevent bots and spam. (Privacy Policy)
AkismetThis is used to detect comment spam. (Privacy Policy)
HubPages Google AnalyticsThis is used to provide data on traffic to our website, all personally identifyable data is anonymized. (Privacy Policy)
HubPages Traffic PixelThis is used to collect data on traffic to articles and other pages on our site. Unless you are signed in to a HubPages account, all personally identifiable information is anonymized.
Amazon Web ServicesThis is a cloud services platform that we used to host our service. (Privacy Policy)
CloudflareThis is a cloud CDN service that we use to efficiently deliver files required for our service to operate such as javascript, cascading style sheets, images, and videos. (Privacy Policy)
Google Hosted LibrariesJavascript software libraries such as jQuery are loaded at endpoints on the googleapis.com or gstatic.com domains, for performance and efficiency reasons. (Privacy Policy)
Features
Google Custom SearchThis is feature allows you to search the site. (Privacy Policy)
Google MapsSome articles have Google Maps embedded in them. (Privacy Policy)
Google ChartsThis is used to display charts and graphs on articles and the author center. (Privacy Policy)
Google AdSense Host APIThis service allows you to sign up for or associate a Google AdSense account with HubPages, so that you can earn money from ads on your articles. No data is shared unless you engage with this feature. (Privacy Policy)
Google YouTubeSome articles have YouTube videos embedded in them. (Privacy Policy)
VimeoSome articles have Vimeo videos embedded in them. (Privacy Policy)
PaypalThis is used for a registered author who enrolls in the HubPages Earnings program and requests to be paid via PayPal. No data is shared with Paypal unless you engage with this feature. (Privacy Policy)
Facebook LoginYou can use this to streamline signing up for, or signing in to your Hubpages account. No data is shared with Facebook unless you engage with this feature. (Privacy Policy)
MavenThis supports the Maven widget and search functionality. (Privacy Policy)
Marketing
Google AdSenseThis is an ad network. (Privacy Policy)
Google DoubleClickGoogle provides ad serving technology and runs an ad network. (Privacy Policy)
Index ExchangeThis is an ad network. (Privacy Policy)
SovrnThis is an ad network. (Privacy Policy)
Facebook AdsThis is an ad network. (Privacy Policy)
Amazon Unified Ad MarketplaceThis is an ad network. (Privacy Policy)
AppNexusThis is an ad network. (Privacy Policy)
OpenxThis is an ad network. (Privacy Policy)
Rubicon ProjectThis is an ad network. (Privacy Policy)
TripleLiftThis is an ad network. (Privacy Policy)
Say MediaWe partner with Say Media to deliver ad campaigns on our sites. (Privacy Policy)
Remarketing PixelsWe may use remarketing pixels from advertising networks such as Google AdWords, Bing Ads, and Facebook in order to advertise the HubPages Service to people that have visited our sites.
Conversion Tracking PixelsWe may use conversion tracking pixels from advertising networks such as Google AdWords, Bing Ads, and Facebook in order to identify when an advertisement has successfully resulted in the desired action, such as signing up for the HubPages Service or publishing an article on the HubPages Service.
Statistics
Author Google AnalyticsThis is used to provide traffic data and reports to the authors of articles on the HubPages Service. (Privacy Policy)
ComscoreComScore is a media measurement and analytics company providing marketing data and analytics to enterprises, media and advertising agencies, and publishers. Non-consent will result in ComScore only processing obfuscated personal data. (Privacy Policy)
Amazon Tracking PixelSome articles display amazon products as part of the Amazon Affiliate program, this pixel provides traffic statistics for those products (Privacy Policy)
ClickscoThis is a data management platform studying reader behavior (Privacy Policy)